The Perfect Cup of Coffee
By Patrick Pauley
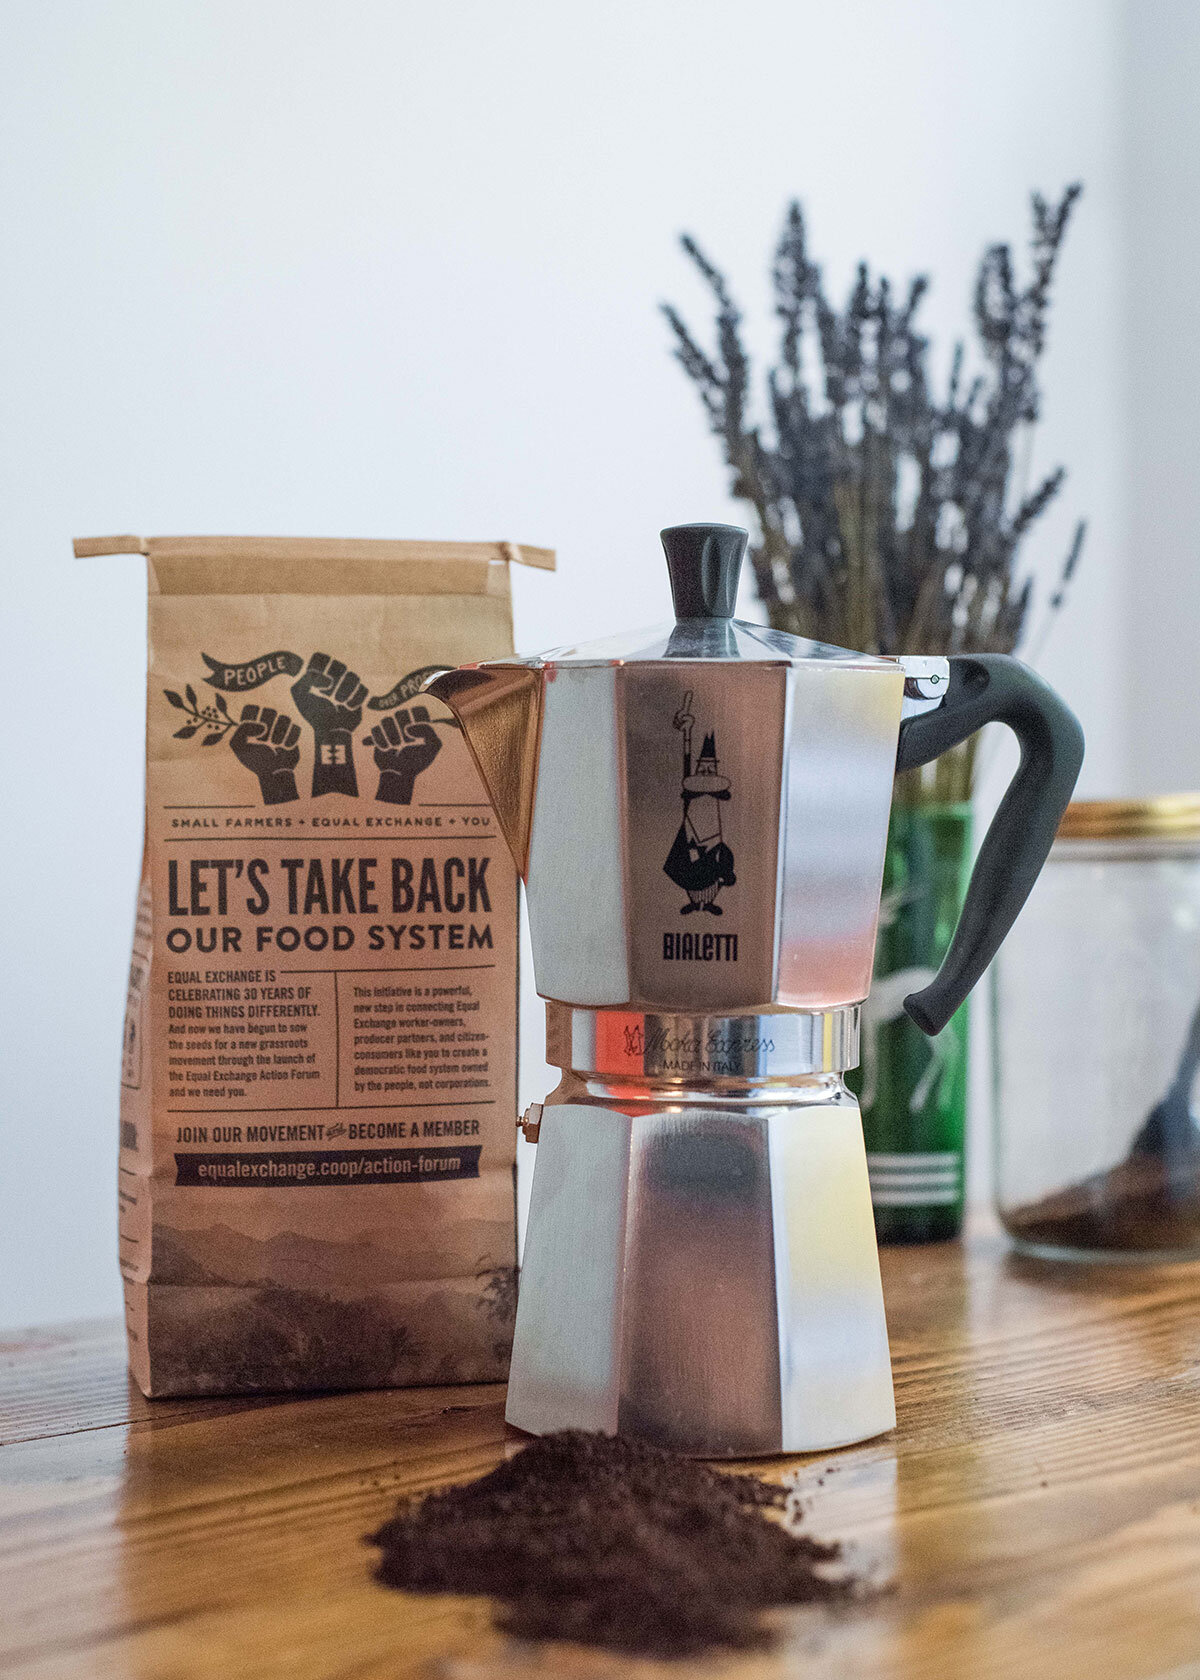
I originally bought my moka pot at a thrift store to use as kitchen decor, but after knocking over and shattering my glass French press, I resorted to learning how to use it for its intended purpose. The moka pot was created by Alfonso Bialetti in the 1930s in Italy. They are still produced by the Bialetti Company today. The art-deco design remains the same and this stovetop coffee maker is known to brew an espresso-like coffee.
Moka pots generally get a bad rep for producing bitter coffee, but I like bitter and I think the unique brewing method more than makes up for that (the bitterness can also be reduced in the brewing process, but I’ll get to that later). If you’ve ever held a moka pot, you’ll know they’re quite sturdy and can last a lifetime if cared for properly. However, size does matter when it comes to moka pots: I have a nine-cup model, meaning anytime I use it, I have to make nine “cups.” I put that in quotes because it does not actually produce nine full-sized cups of coffee. Rather, it produces the equivalent of about nine espressos. Even then, I still have no need for nine espressos every morning. Sharing is key for me, but there are different size options available (I think two-cup or four-cup moka pots are most popular).
Environmentally speaking, moka pots are great because all that is required is water, coffee and heat. The filter is built in, and one of the main three components is a metal basket that holds the ground coffee, which you reuse each time. As I said, moka pots can also last a lifetime or more!
The recipe I like starts out with coffee that’s ground to a medium to medium-fine coarseness. Don’t go too fine or else you can clog your moka pot! Right now, I am using Equal Exchange’s Love Buzz from the Co-op, because I like the name and haven’t tried it before.

Boil enough water to fill the base of your moka pot up to the pressure valve. Boiling your water beforehand reduces the chance of “cooking” your coffee, which could lead to unwanted bitterness. Once your water is boiling, fill the base up to the valve. Be careful handling the base now, since it will be hot to touch. (It’s made of metal, and heat transfers! I keep getting reminded of this.)

Now you can fill the metal basket with your ground coffee, being sure to not pack it tight. I usually just lightly scoop it in until I have overfilled the basket, and then I use a knife to scrape the top level. That part is important, because again, you don’t want an overpacked basket. Moka pots use steam to brew, and the steam can’t get through the coffee if it’s packed in too densely.

After that, place the basket into the base.

Using a rag or oven mitt, screw the top of the moka pot onto the base. Now you can put the moka pot on the stove over medium heat, and make sure to leave the top open. Also be sure that the handle isn’t being heated (mine is made of plastic).

In a few short minutes, the water vapor from the steam will work its way up from the base, through the basket and coffee, and up through the filter into the top chamber of the moka pot. This upward method of brewing causes pressure to form within the moka pot, which is how it is able to brew an espresso-like coffee. There is not enough pressure to brew true espresso though, and the pressure valve on the base ensures that your moka pot will not explode from an excess of built-up pressure.
Once the stream of coffee pouring into the top chamber starts to turn golden yellow, close the lid and remove your moka pot from heat. It should be moderately full at this point. To stop further extraction of your coffee, run cold water over the base of your moka pot. We don’t want to over extract, because we want a rich, strong brew that isn’t watered down.
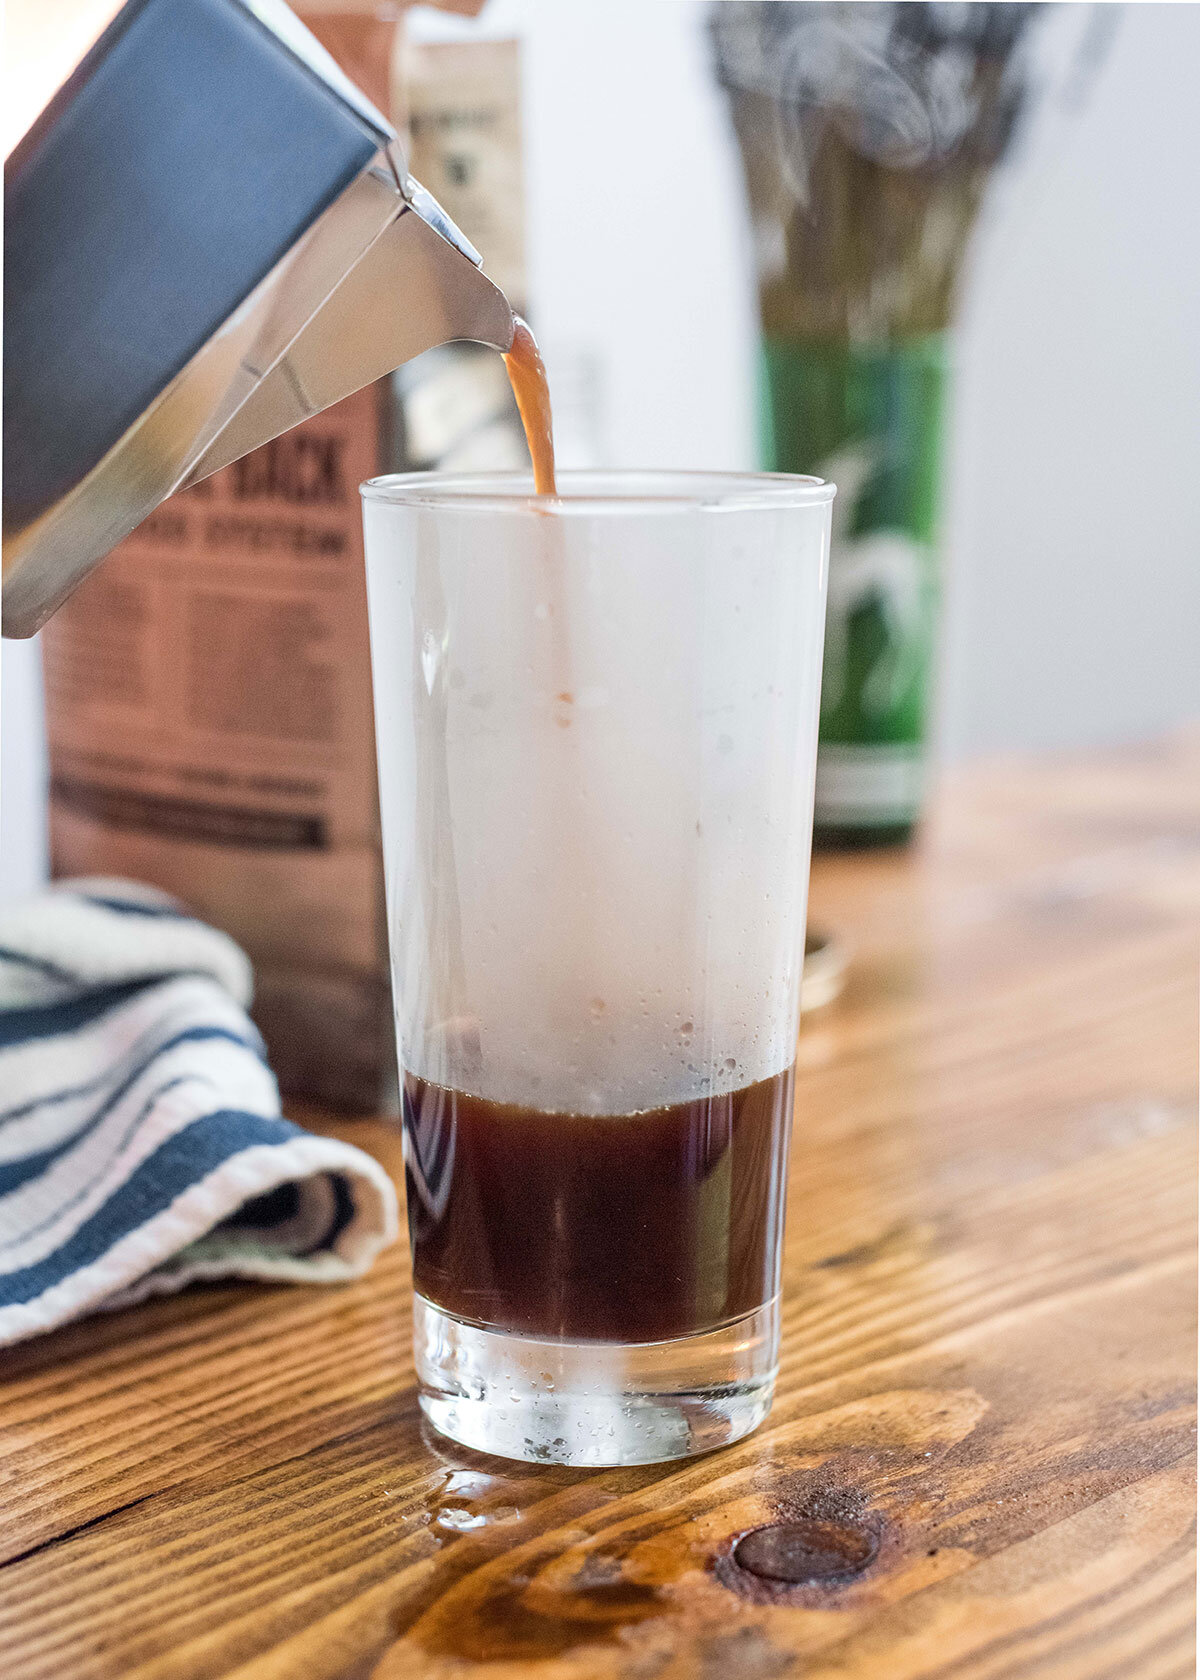
Now you can pour your fresh-brewed coffee into a mug or cup and drink it straight or however you’d like. I’ve been pouring it into a glass and adding oat milk and ice to make an iced latte. It’s pretty good, I just add more of the brew since it isn’t true espresso.
Later, once your moka pot has cooled down, give it a good wash and make sure there aren’t coffee grounds in the filter or basket. Let it dry fully before assembling again — you don’t want it to rust!